
Brian Smith Roofing Project
|
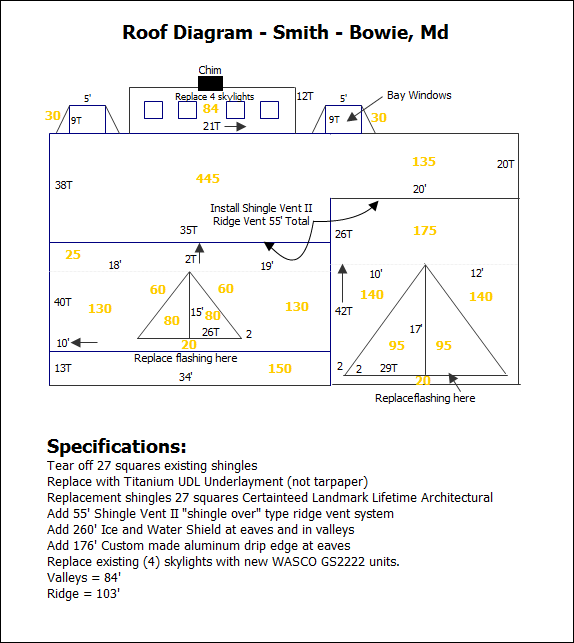
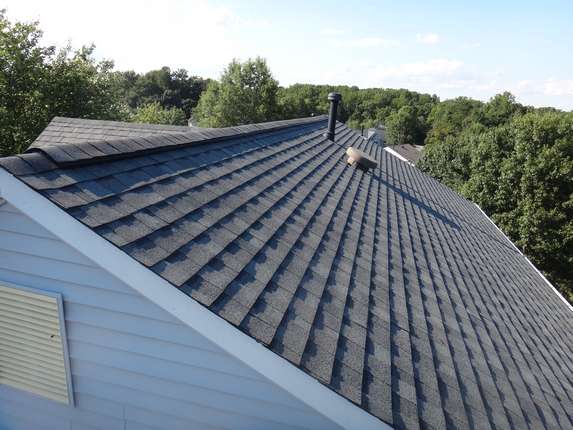
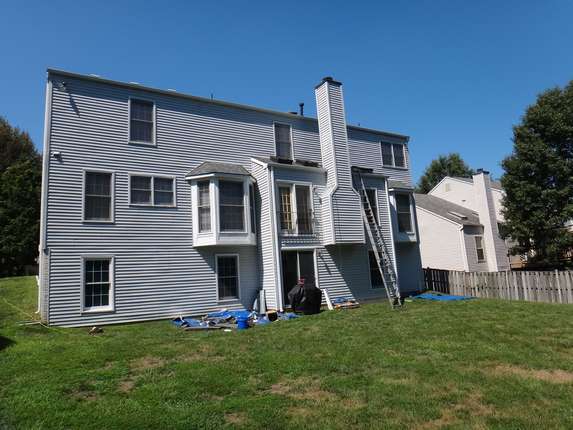
Before: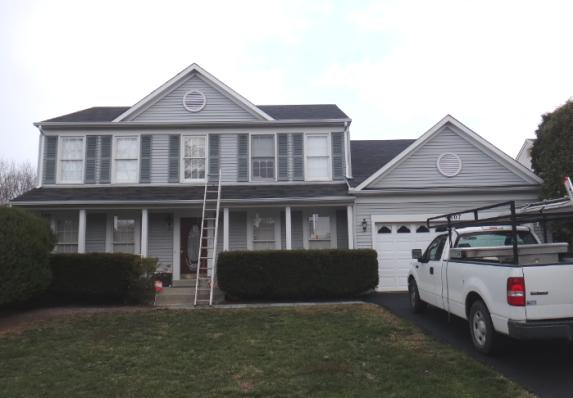 Home Restorations Md is providing a new roof estimate for the Smith's Bowie Md Home. We're specifying Certainteed Landmark Lifetime shingles because the high winds that visit this neighborhood have "blown off" many of the 3-tab shingles over the years. That's not going to happen with the wind resistant Landmark Shingles. |
 |
|
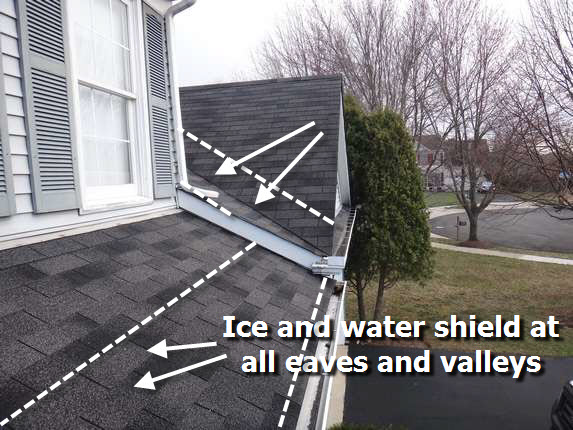
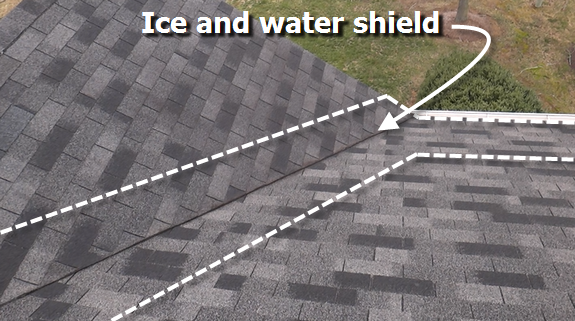
2. Ice and water shield that permanently bonds itself to the plywood surface AND the aluminum drip edge to prevent damage to plywood from ice dams and horizontal rain. There will be about 260 feet of material, 3 feet wide, when this job is completed. 3. Custom wall flashing (under the siding, above). I haven't seen anybody else do this routinely, and on this project, we'll use black aluminum to blend with the new shingles. There will be about 150 feet of wall flashing installed. 4. Underneath the roofing, instead of using
the old fashioned "tarpaper" (that almost everybody else STILL uses), we
use Berger UDL Synthetic
Underlayment, which is much
more effective at protecting against leaks caused by "wind driven rain" ... and has the added
benefit of discouraging mold growth -- unlike tarpaper. |
 |
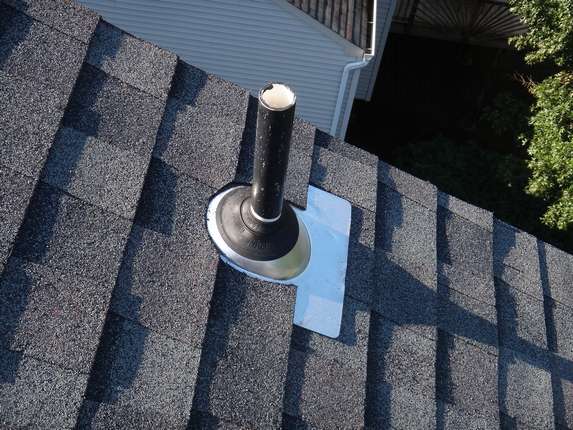
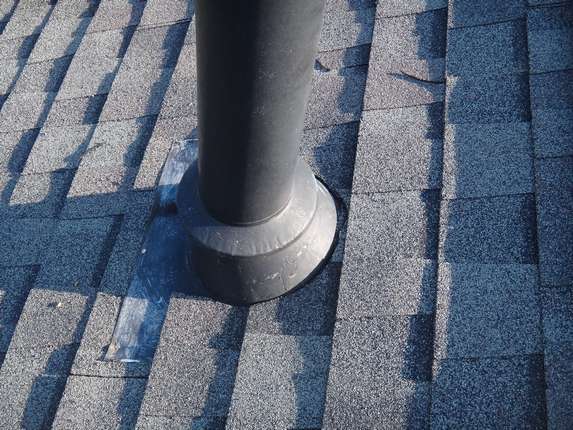
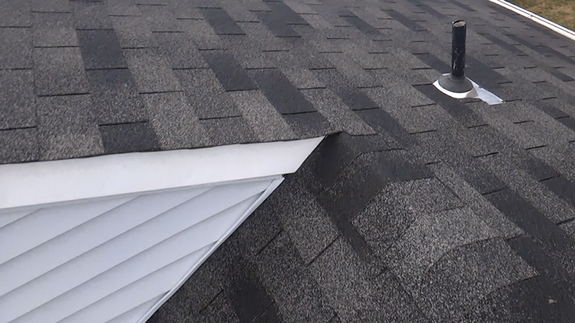 All pipe collars will be replaced with NEW neoprene and aluminum units -- not the cheap stuff! |
|
|
|
1. Keeping the insulation dry and making
it more effective. |
|
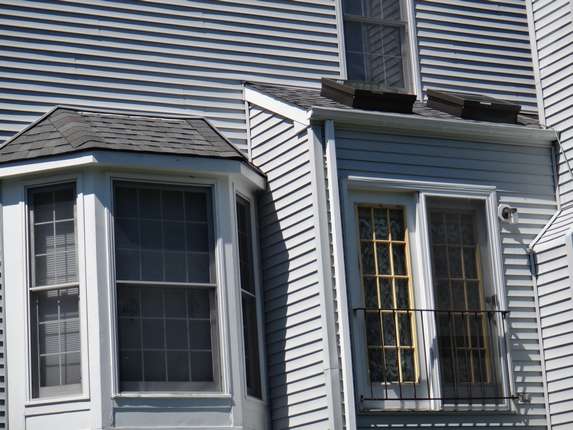
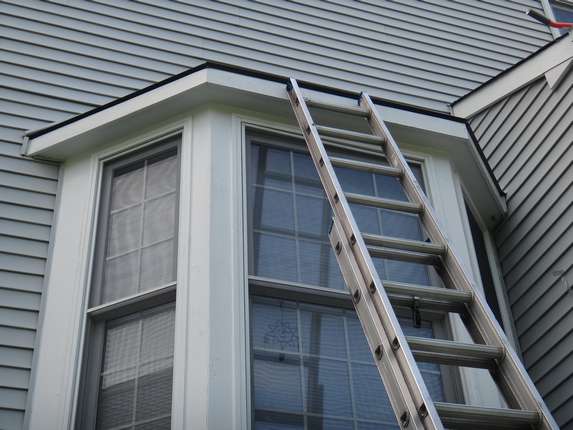
... And, while we're up there, we'll reflash the chimney (the flashing is under the siding) and apply ice and water shield to the chimney cricket for protection. We'll also re-roof the bay window roofs on each side of the addition, using:
|
|
Any questions so far? Shoot me an email
at Bill@HomeRestorationsMd.com
. |
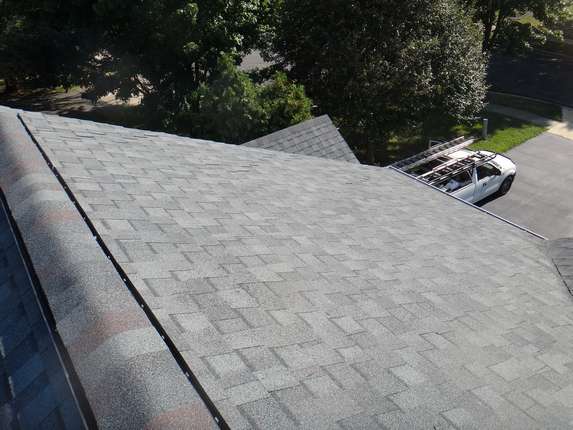
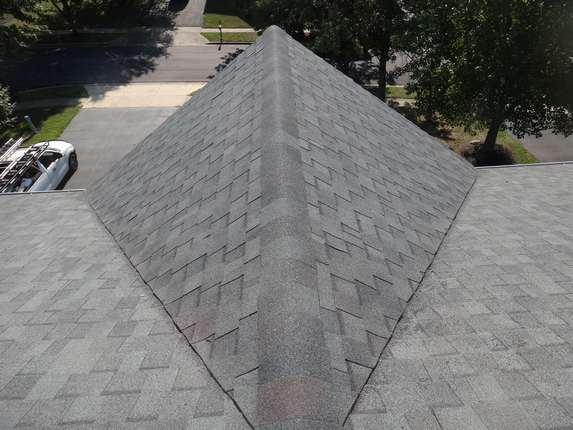
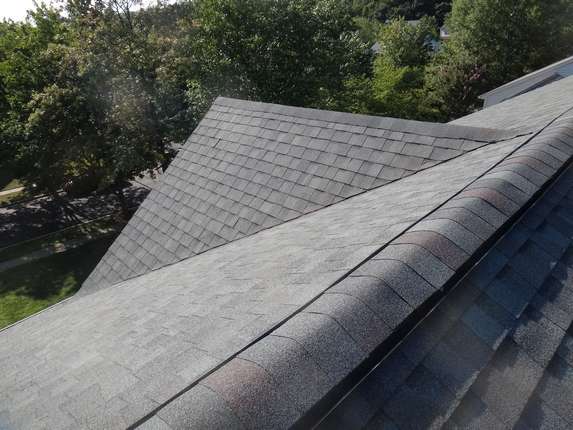
During and After Roof Installation
Pics: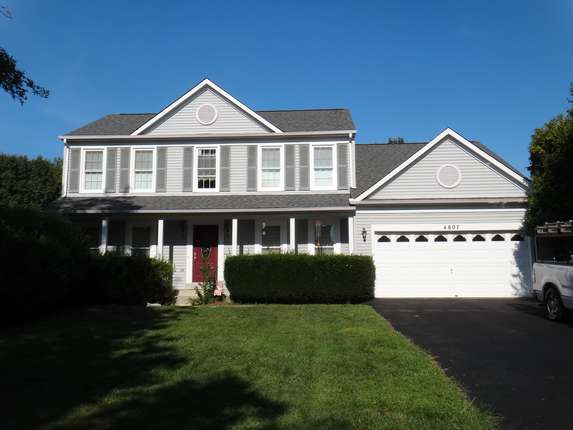 |
 |
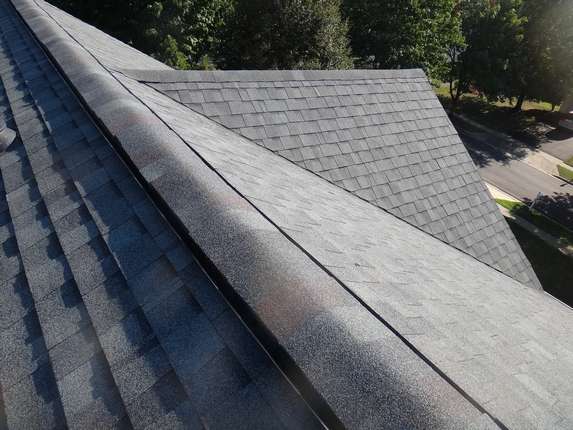
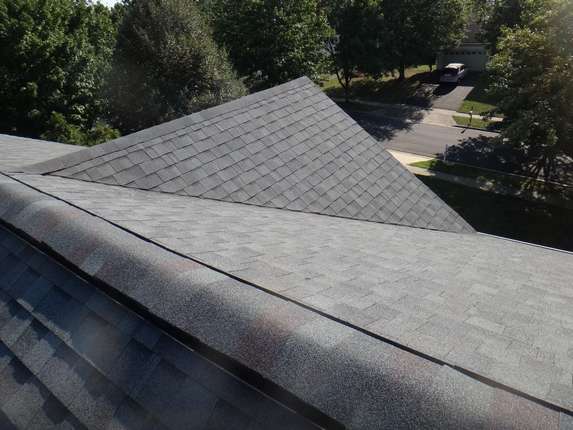
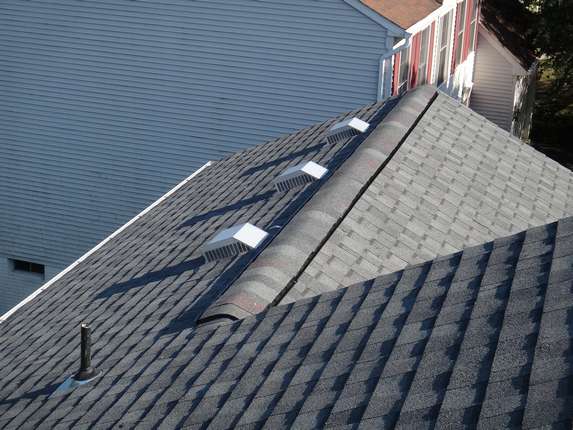
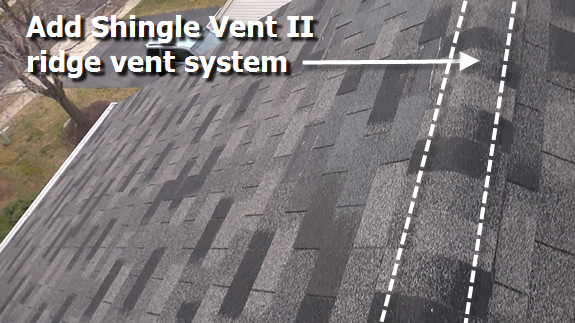
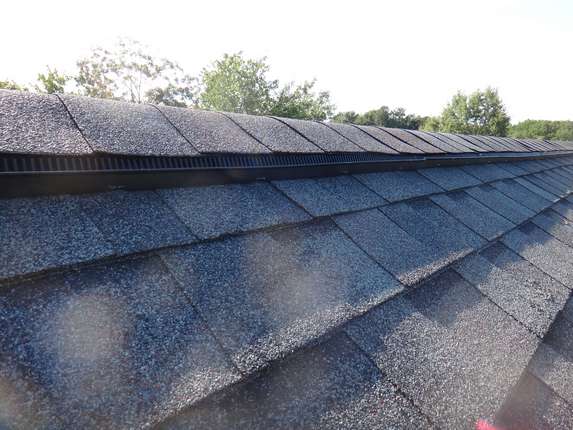 Shingle Vent II "shingle over" type ridge vent by Air-Vent Inc. |
 |
 |
 |
 |
 |
 |
 |
 |
 |
 |
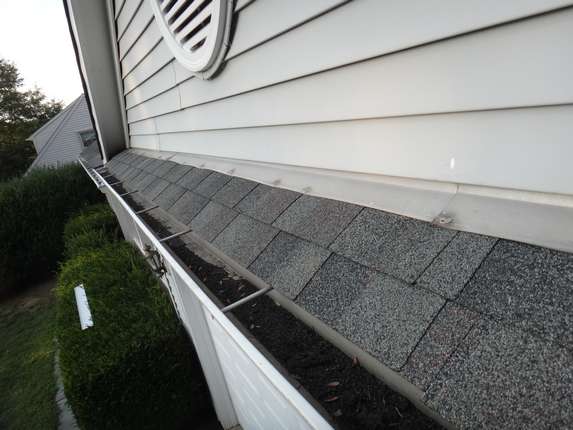 |
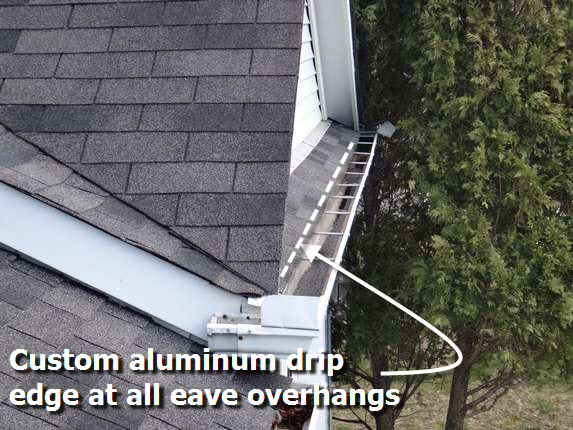
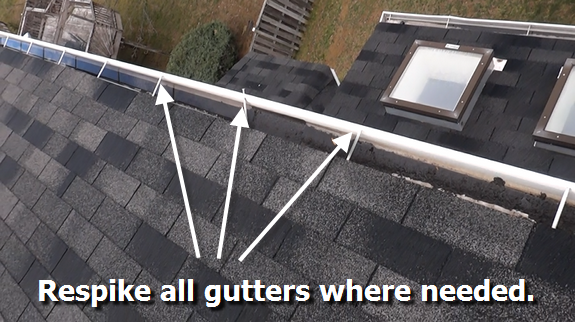
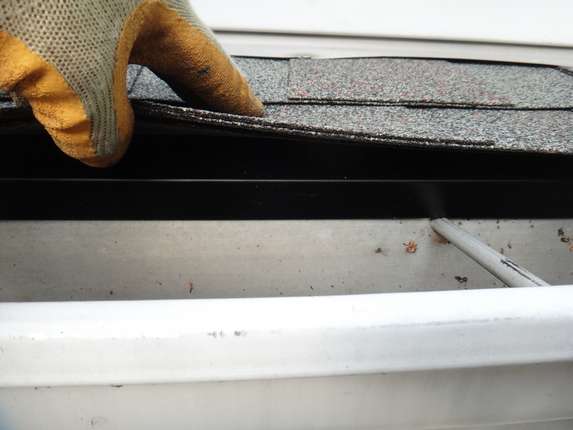 Our Trademark custom drip edge integrates with ice and water shield and drains directly into the gutters -- eliminating any possiblity that water touches the fascia. |
|
|
Remove and install new curb mount
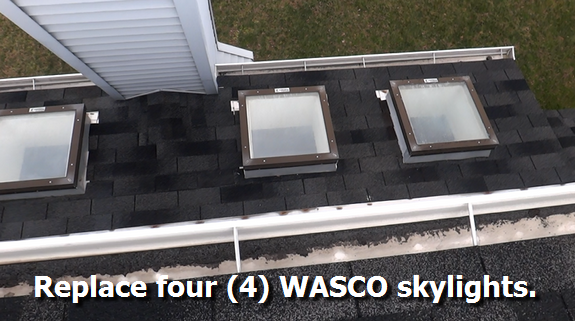
skylights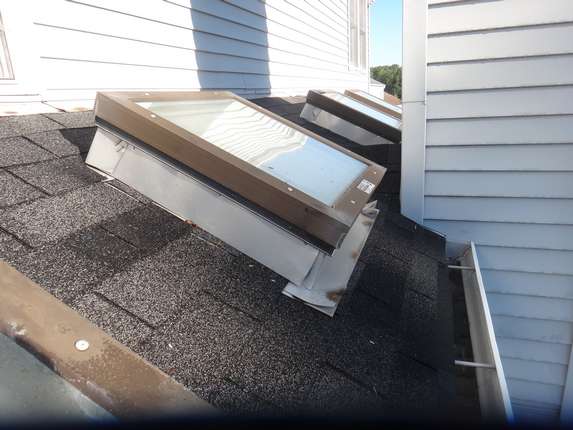 The glass in the old WASCO skylights has failed ... new updated curb mounted units are on the way ... |
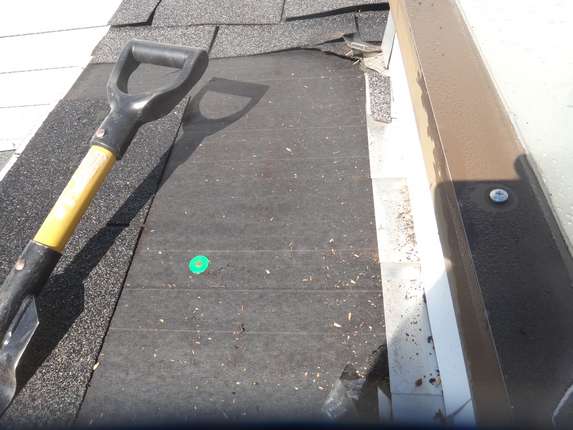 |
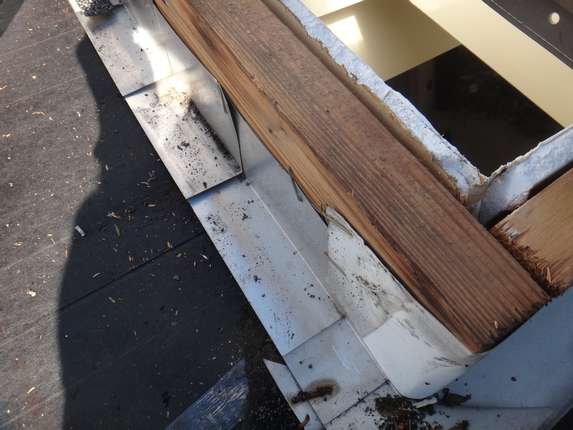 Here's a look at the original step flashing after removal of the counter flashing. New flashings will be higher quality, thicker gauge, with a baked on paint finish. |
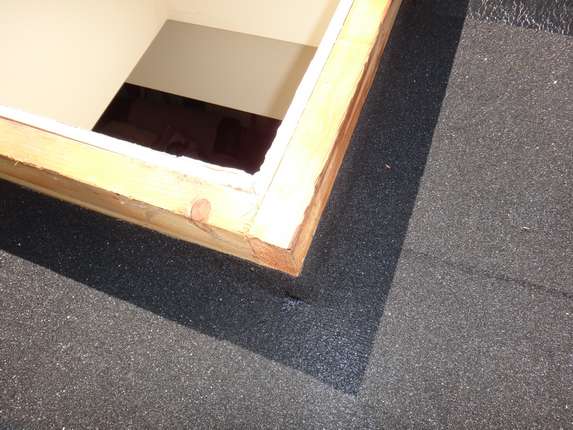
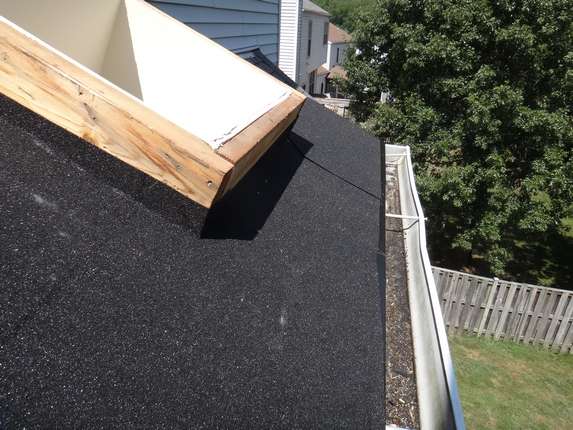
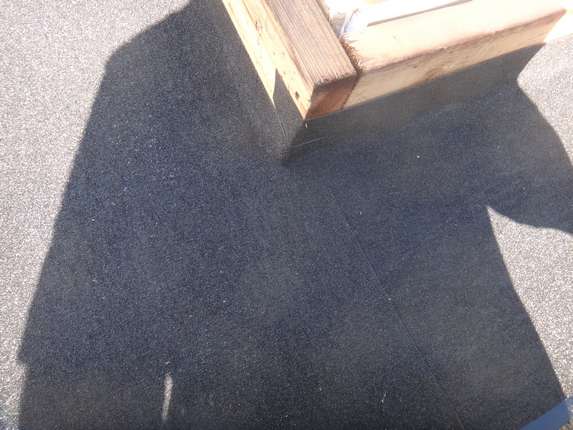 Ice and water shield is applied around the 2 x 4 curb and adheres to the wood materials. This is almost enough all by itself to waterproof the system. |
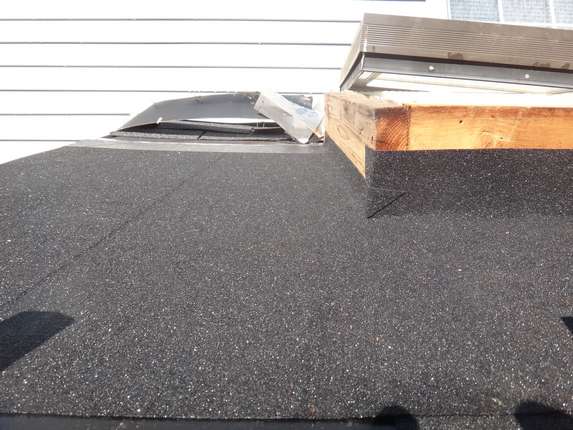 |
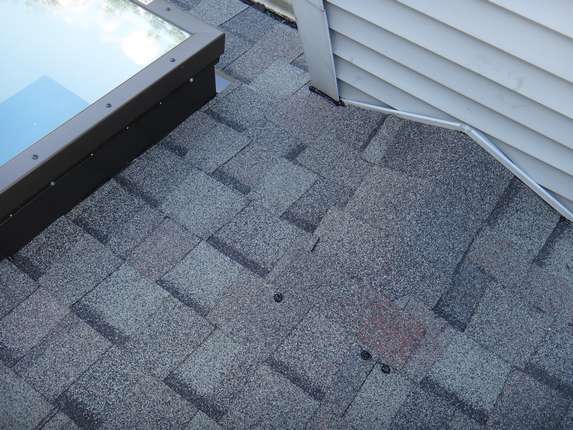
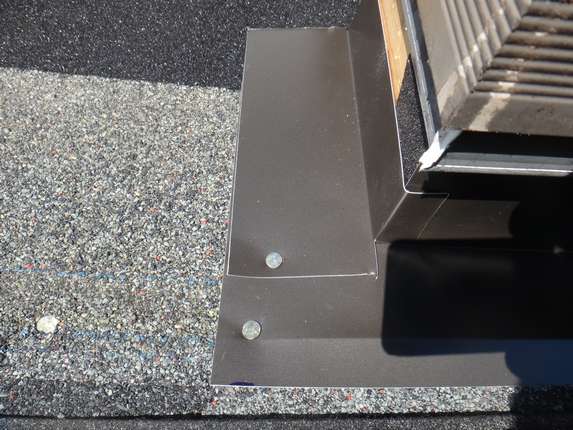 New custom formed bronze color flashing is integrated with the step flashing as new Certainteed Horizon lifetime shingles are installed ... |
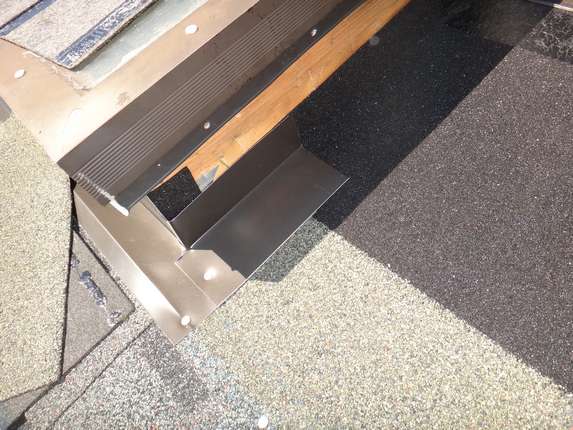 ... and the other side |
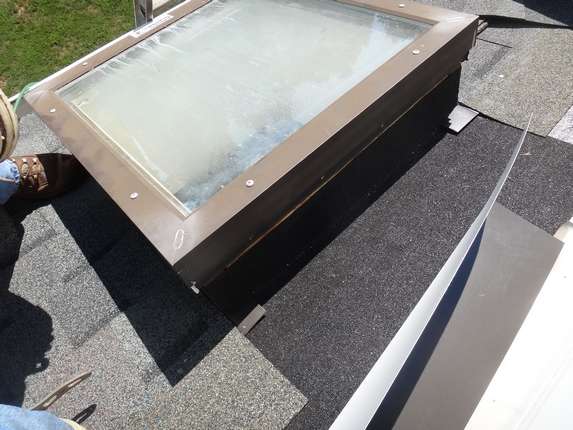 We place the old skylight over the opening while working to keep dirt and dust from entering the house. |
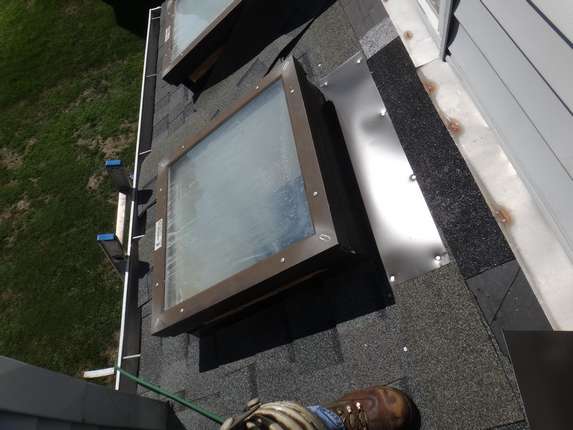 Now the header "pan" flashing is custom formed and installed. |
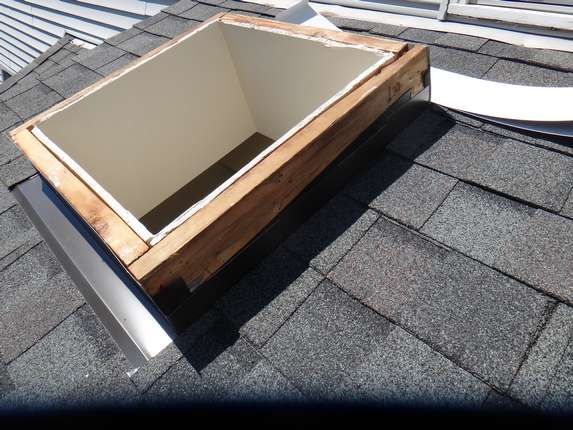 Ready for the counterflashing, which covers the step flashing. |
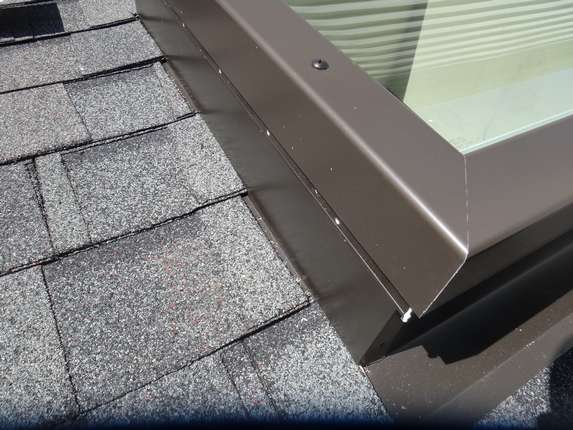 Aahhh, that's pretty! |
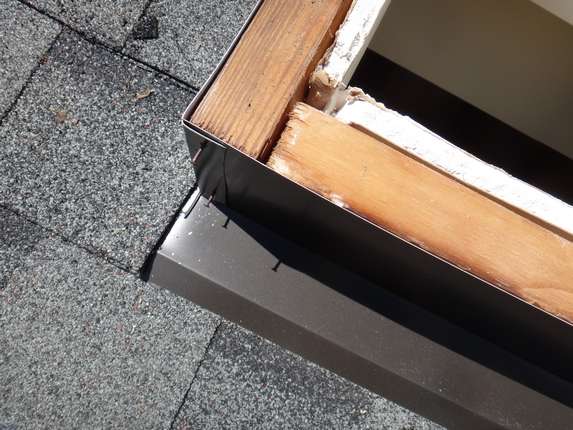 Stainless steel trim nails finish the aluminum work. |
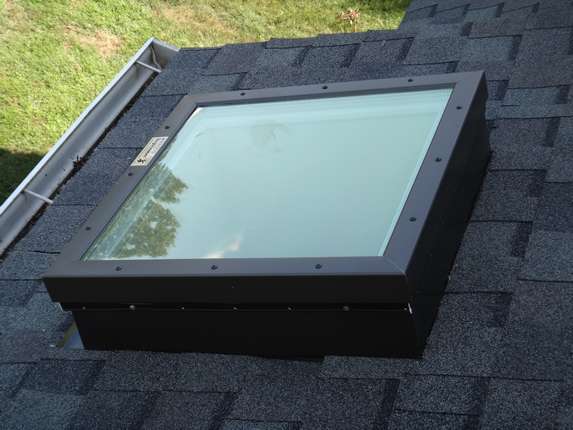
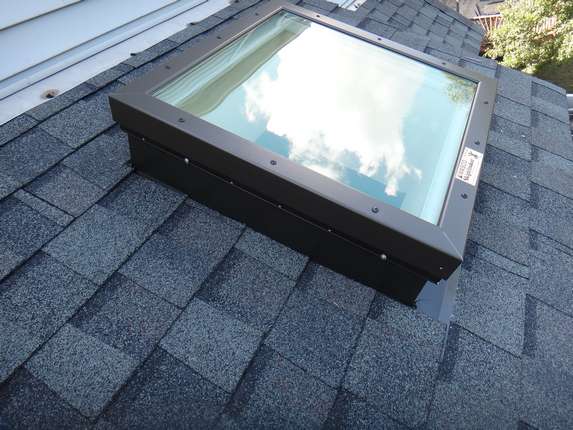
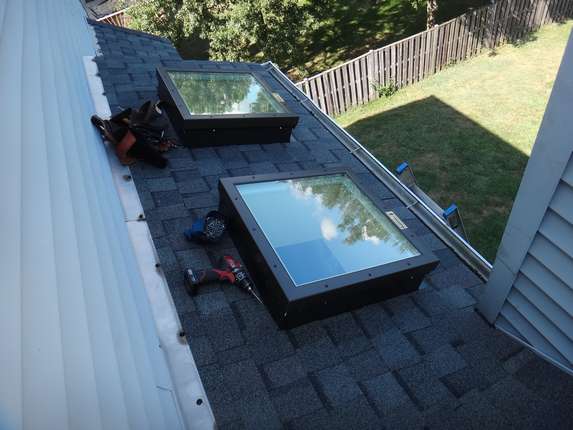
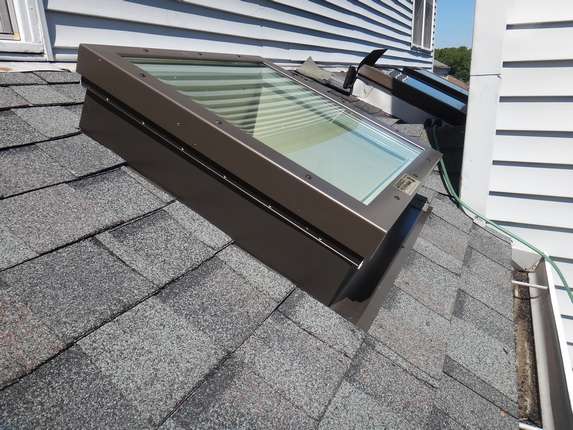 ...and the new WASCO skylights are screwed onto the curb with stainless steel screws. |
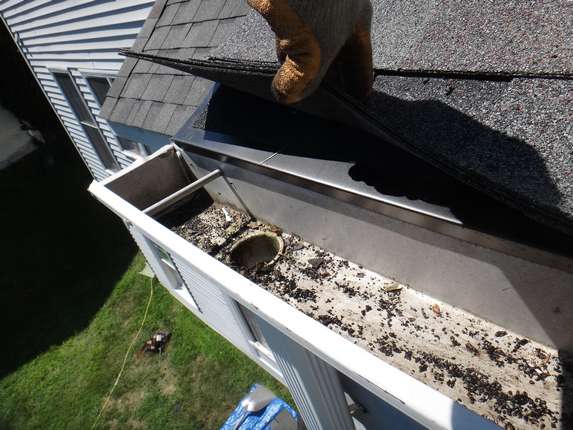 Showing off the custom drip edge that channels water directly into the gutters. |
 |
 |
 |
 |
 |
 |
 |
 Another Md Roofing Success! |
|
|
%20837-7400.png)