 |
 |
 |
 |
 |
 |
 |
 |
 |
 |
 |
 |
 |
 |
|
|
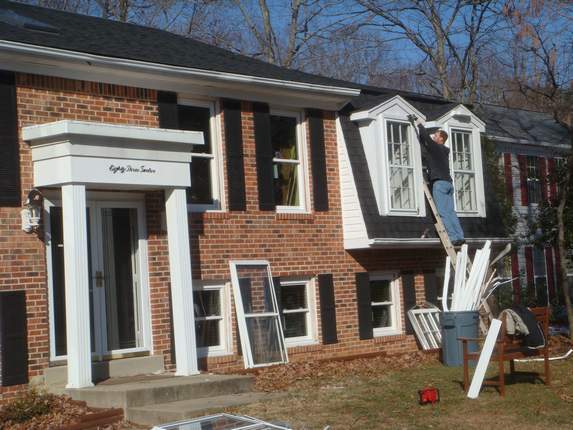
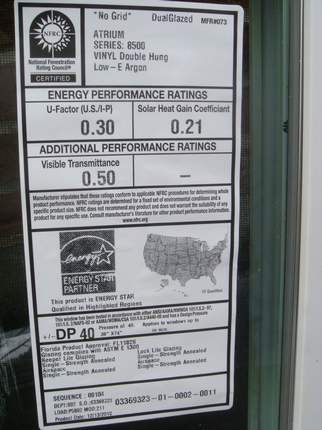
Old wood double hung being replaced with new vinyl window ...
 |
 |
 |
 |
 |
 |
 |
 |
|
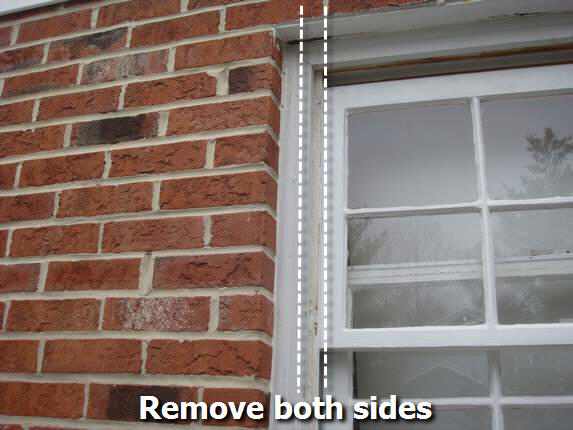
Prepping a
few existing windows with minor wood damage ...
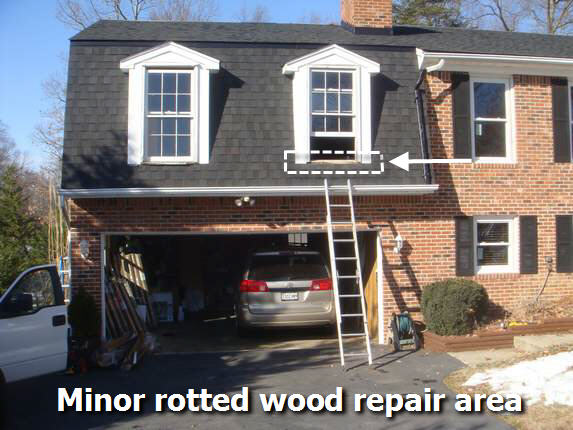 1. We have started removing the dormer windows, and have begun planning how
to remove the portion of the rotted wood sills -- to come up with a design to accomodate the new replacement
windows without replacing the entire wood window frame and doubling (and maybe tripling) the price of the
job. 1. We have started removing the dormer windows, and have begun planning how
to remove the portion of the rotted wood sills -- to come up with a design to accomodate the new replacement
windows without replacing the entire wood window frame and doubling (and maybe tripling) the price of the
job.
|
|
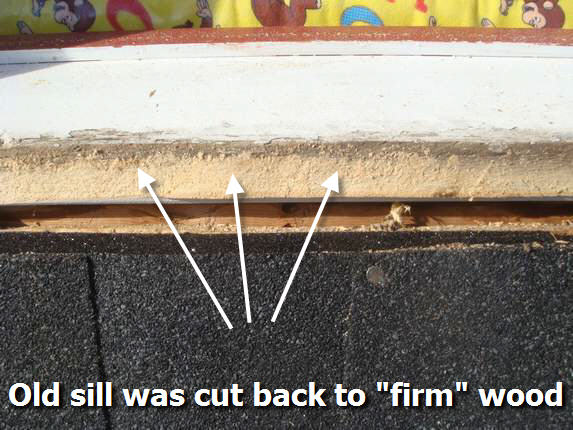 2. First, we cut the entire length of the sill back to solid wood,
completely removing all rotted material. 2. First, we cut the entire length of the sill back to solid wood,
completely removing all rotted material.
|
|
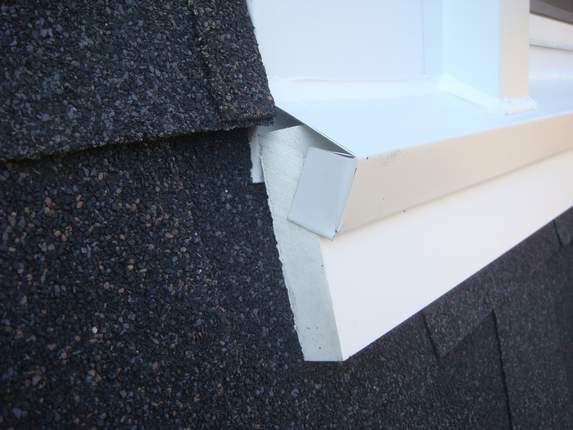
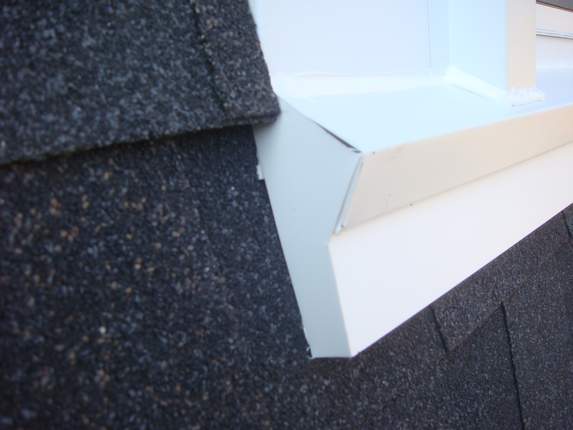
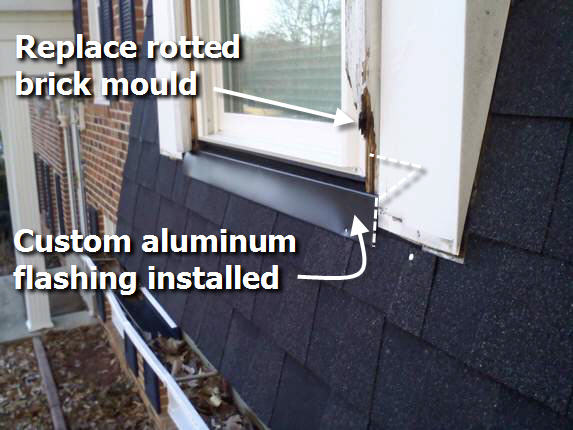 3. Next, we custom manufactured a thick extrusion of aluminum that covered
the existing sill entirely and overlapped the new roofing shingles. This will provide a double back
up against "sneaky" water invasion and help eliminate air infiltration as well. It will also provide a base for the new
vinyl window sill expander ... 3. Next, we custom manufactured a thick extrusion of aluminum that covered
the existing sill entirely and overlapped the new roofing shingles. This will provide a double back
up against "sneaky" water invasion and help eliminate air infiltration as well. It will also provide a base for the new
vinyl window sill expander ...
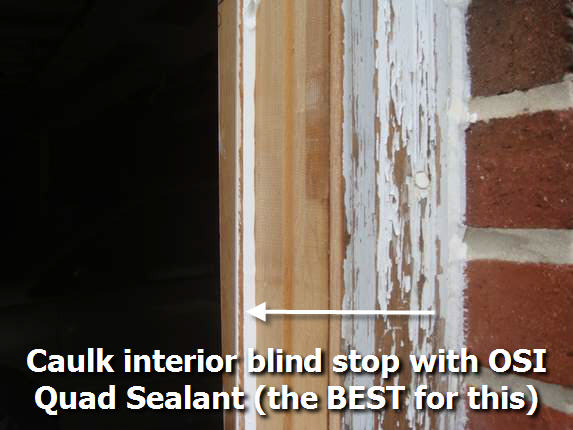
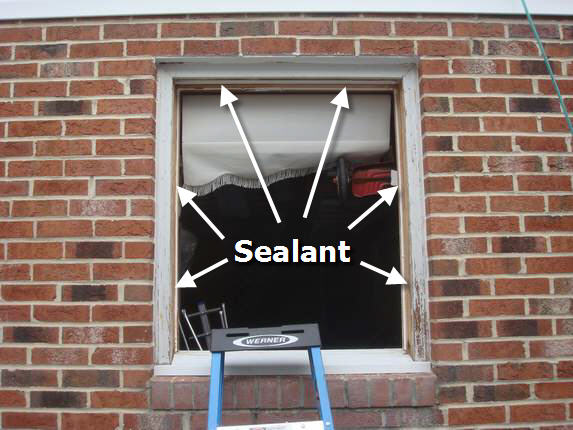
OSI Quad siding sealant (the BEST for this application) was used
against water infiltration.
|
|
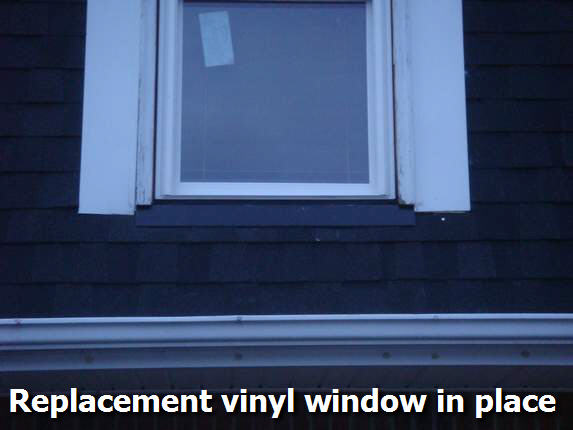 4. The new custom aluminum piece is permanently nailed to the new mansard
roof. All of the mansard roof areas were covered with new Certainteed's "ice and water shield" before installation of
the new Certainteed Landmark 30 Architectural shingles to help prevent ice dams from damaging the roofing
and the interior of the home. Mansard roofs are especially TRICKY and roofing "best practices" must be adhered to
at all times for this type of construction. 4. The new custom aluminum piece is permanently nailed to the new mansard
roof. All of the mansard roof areas were covered with new Certainteed's "ice and water shield" before installation of
the new Certainteed Landmark 30 Architectural shingles to help prevent ice dams from damaging the roofing
and the interior of the home. Mansard roofs are especially TRICKY and roofing "best practices" must be adhered to
at all times for this type of construction.
|
|
 5. Existing brick molding on some windows was rotting where it met the wood
sills; we replaced it with new. It's important to note that this is just a "structural" repair, not
aesthetic. It's only function is to serve as a base for the new custom-made aluminum
capping. 5. Existing brick molding on some windows was rotting where it met the wood
sills; we replaced it with new. It's important to note that this is just a "structural" repair, not
aesthetic. It's only function is to serve as a base for the new custom-made aluminum
capping.
Azek Synthetic Trim Board was used in place of
the existing rotted board that was removed when the roof was replaced. The object here was to maintain a sleek
simple look -- not overly complicated -- yet more functional than the original design. A new sloped sill was
fabricated from stock factory painted aluminum and sealed with OSI Quad Sealant.
|
|
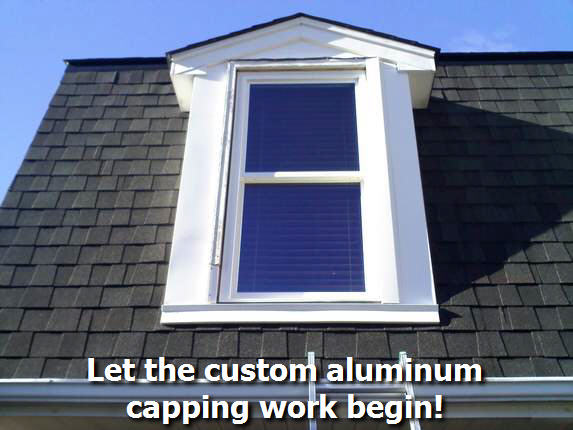 6. The new vinyl dormer window has now been installed and is ready for
custom aluminum capping and caulking with OSI Quad sealant. 6. The new vinyl dormer window has now been installed and is ready for
custom aluminum capping and caulking with OSI Quad sealant.
|
 |
|
Windows adjacent to vinyl
siding:
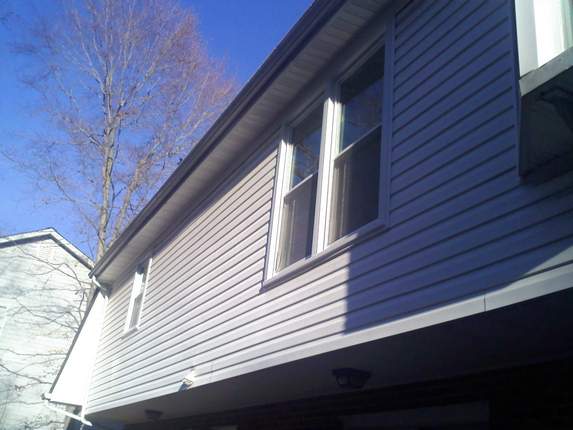
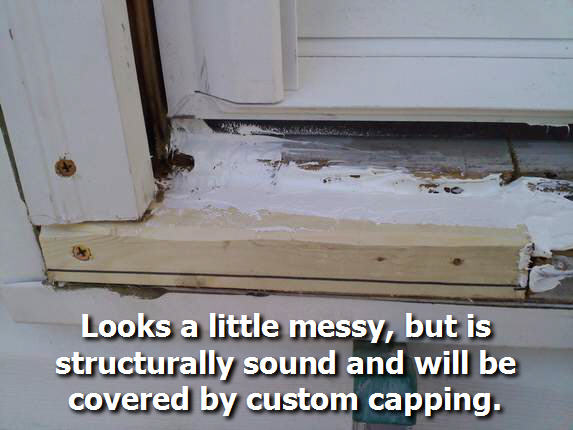 1. Only one window was affected, this one is the upper rear bedroom, side
window. First, the damaged part of the original sill was cut out using a Sawzall, then fresh
wood was cut, shaped and screwed in place with epoxy coated screws. Of course, brick mould was used where appropriate -- and again
-- nothing has to be "pretty" just structural. The
putty between the new wood and old sill sure isn't pretty, is it? 1. Only one window was affected, this one is the upper rear bedroom, side
window. First, the damaged part of the original sill was cut out using a Sawzall, then fresh
wood was cut, shaped and screwed in place with epoxy coated screws. Of course, brick mould was used where appropriate -- and again
-- nothing has to be "pretty" just structural. The
putty between the new wood and old sill sure isn't pretty, is it?
|
|
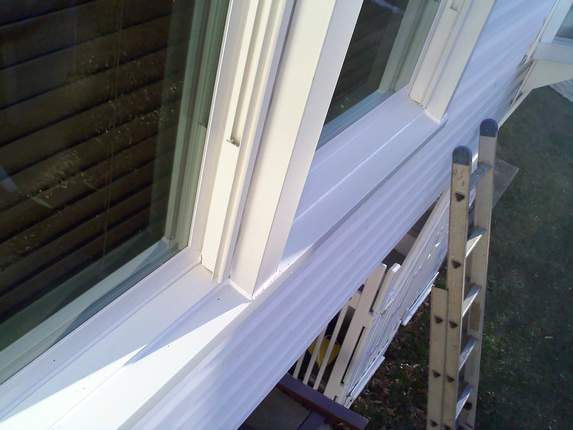
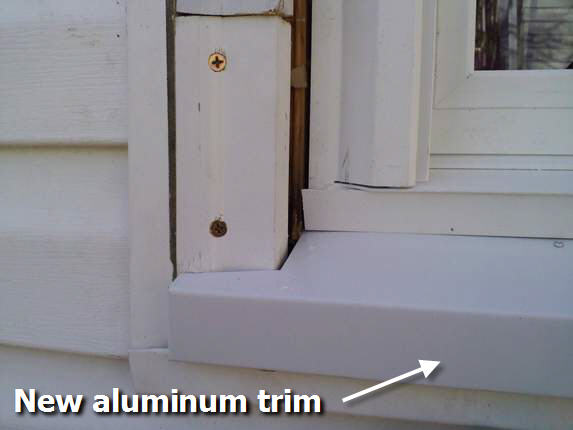 2. In this shot the vinyl replacement window is in place, the custom
aluminum sill is in place, and the lower window expander has been sealed into place. Now
the usual custom made capping and sealing will be installed normally. 2. In this shot the vinyl replacement window is in place, the custom
aluminum sill is in place, and the lower window expander has been sealed into place. Now
the usual custom made capping and sealing will be installed normally.
|
|
Windows in brick
opening:
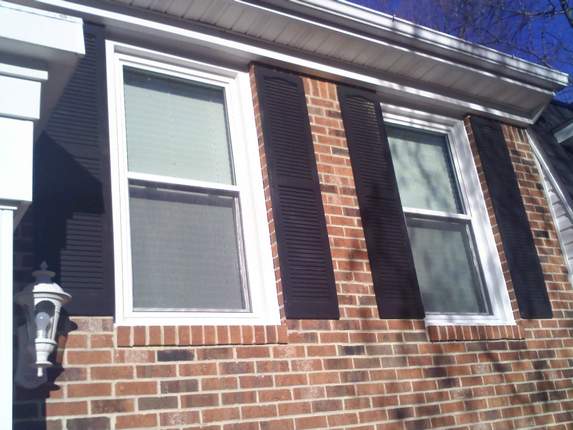
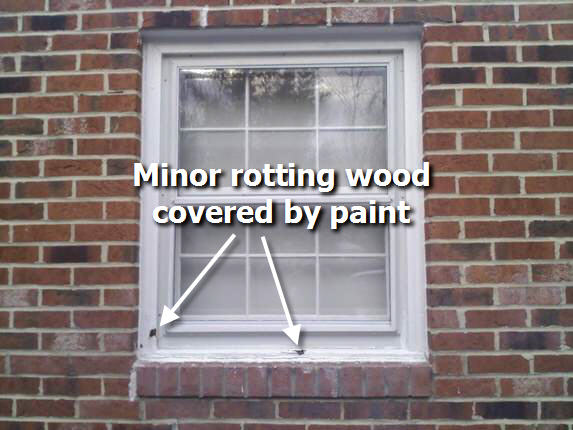 1: Only one "brick opening" window needed this type of treatment; the
side garage window towards the front. No aluminum capping was previously applied to this
unit and the original owner tried to hide the damage by "caulking over" and then painting the damage area. Hmmmmm, not very
nice. 1: Only one "brick opening" window needed this type of treatment; the
side garage window towards the front. No aluminum capping was previously applied to this
unit and the original owner tried to hide the damage by "caulking over" and then painting the damage area. Hmmmmm, not very
nice.
|
|
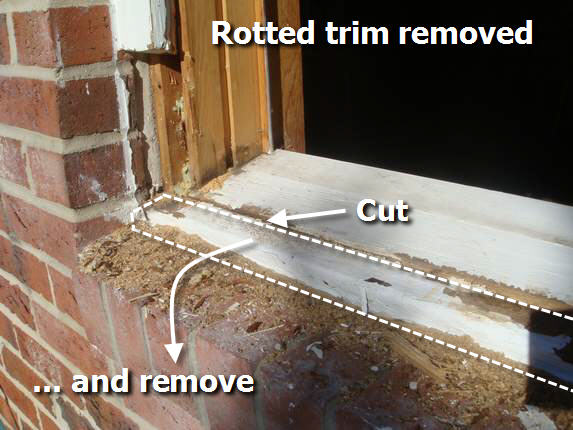 2. First, the damaged area was carefully cut out with a Sawzall and
carbide blade -- the entire front part of the sill was damaged and removed, and the left lower
part of the brick mould. 2. First, the damaged area was carefully cut out with a Sawzall and
carbide blade -- the entire front part of the sill was damaged and removed, and the left lower
part of the brick mould.
|
 |
|
 3. Next, a new wood sill piece was fabricated and screwed into place,
and new brick mould was installed as well... Now
we're ready for the window installation, the custom formed aluminum trim, and the all
important OSI Quad Sealant. 3. Next, a new wood sill piece was fabricated and screwed into place,
and new brick mould was installed as well... Now
we're ready for the window installation, the custom formed aluminum trim, and the all
important OSI Quad Sealant.
|

